Pedicures are one such salon treatments that are far more therapeutic than anything else in the world. Many of us love to take those frequent salon trips to get relaxing foot massages, clean our toes, and pamper ourselves after a rough week. Sometimes, it is not required to splurge out money for that super relaxed feeling because you can master the art of an at-home pedicure session with the help of some easy steps.
Our feet say a lot about us and an unkempt foot can lead to the buildup of dead and rough skin that turns into callus and causes flakiness. There’s no denying to the fact that neat, well-groomed, and smooth feet can do wonders for self-confidence. But regular pedicures do more than just make the feet look pretty. It helps to clean the feet, moisturizes them, and also provides the nail care it needs to remain healthy. For all those times you yearned for a relaxing at-home pedicure, we will help you with the do’s and don’ts so that you can treat yourself with the right pedicure treatment from the comfort of the living room.
The Do’s of At-Home Pedicure
Use Moisturizing Cream Regularly
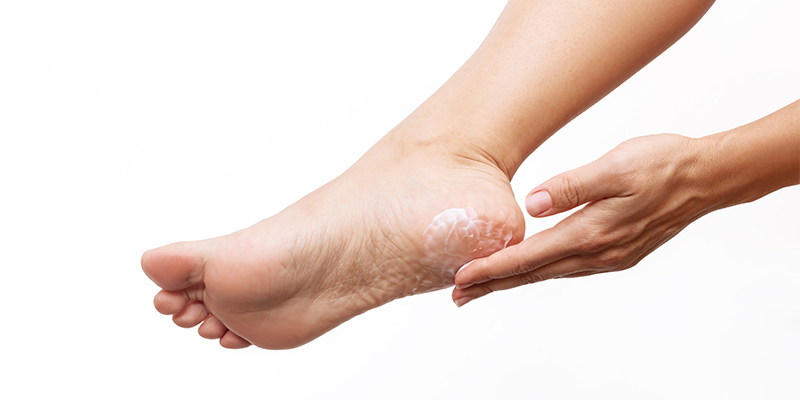
Cracked heels and sore feet are as painful as popping a pimple on the face. Dryness in the feet can lead to flaky skin, cracked heels, and also lead to fungal infections at times. To heal your dry and chapped feet, don’t wait for your pedicure treatment using at-home pedicure tools for feet. Apply a nourishing foot cream daily to keep your feet moisturized and to treat all skin-related issues like fissures and cracked heels. It locks in the moisture and forms a protective sheath to prevent the skin from getting dry or cracked.
Use the Right Pedicure Tools for Exfoliation
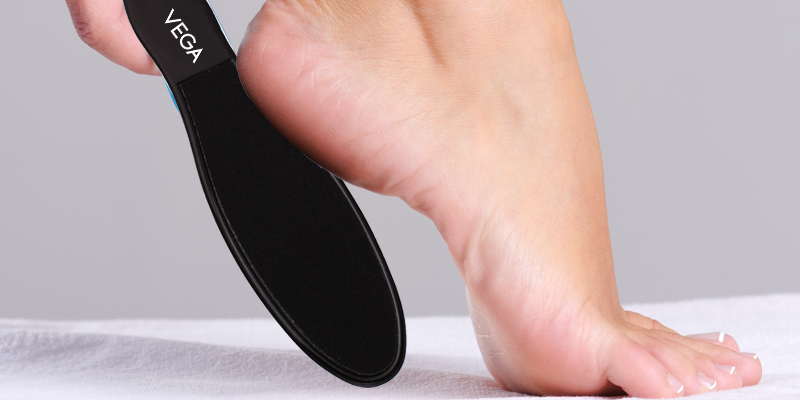
We all are guilty of not giving enough attention and care to our feet like we are supposed to give. As a result, the skin becomes dry and rough; perhaps more than the other parts of our body. Our feet accumulate a lot of dirt, and grime, and washing them with water and soap is never enough. Here’s where the pedicure tool set comes in and helps to exfoliate the feet and remove every bit of callus built on the skin surface. While eliminating the thick layer of dead skin, use a pumice stone or a foot file to get rid of the callus present on the heel and side area of the feet.
Always Apply a Base Coat before Nail Paint
As the name suggests, a base coat forms a protective sheath for the final coat of the nail paint. The base coat not only offers a smooth canvas for long-lasting color but also offers healthier cuticles. By applying the nail color after a base coat, you prevent the nails from getting chipped and broken. For further protection, you can also seal the nail paint with a topcoat. This will leave behind a glossy shine and avoids the discoloration of nails.
The Don’ts of At-Home Pedicure
Never Leave the Nail Paint for a Longer Time
Freshly painted nails do sound exciting but leaving them for a longer duration like for many days can make them dry and leave the cuticles feeling hard and brittle. The longer you leave your nail polish color, the more chances are of nails becoming discolored or chipped. The pigment of the nail paint can turn the nails yellow hence it’s good to let them breathe for some time by leaving them bare and not applying any layer of nail color. Also while removing the nail paint; you should remove every bit of the remaining color focusing especially on the edges and corners.
Don’t Cut the Cuticles
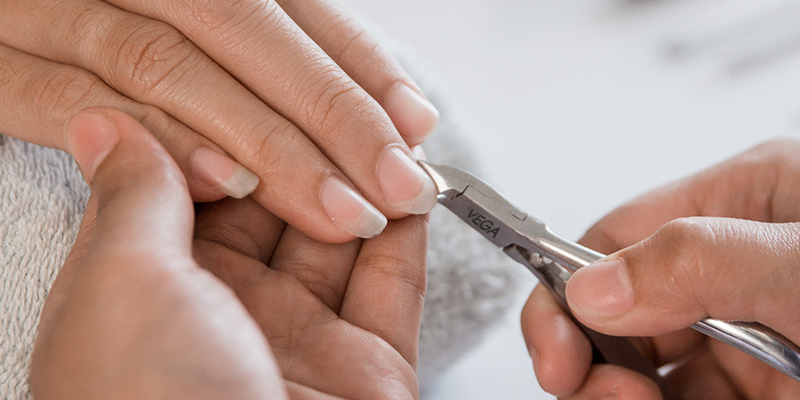
Cutting cuticles while doing the at-home pedicure is a big no. Reason being why, cuticles protect the nails and the skin around them from all sorts of damage. Cuticles should simply be pushed gently with the help of a cuticle pusher and left as it is. Pushing back the cuticles should be done after every week no matter whether you do a pedicure or not. They overgrow real fast and can cause ingrown nails which can be harmful. Also, use a moisturizer or hand cream later to keep the nails soft and hydrated.
Here’s how to the at-home pedicure with a few do’s and don’ts to get salon-worthy nails!


