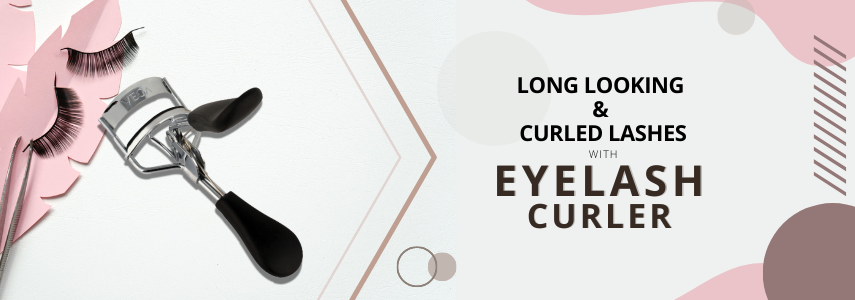
Longer, Thicker and Curled eyelashes are the traits that every girl yearns for. Whether you prefer longer, voluminous lashes or want a quick lash-lift that looks natural, curling the lashes is all that we know as a styling fix.
Getting doll-like lashes sitting at home is like a piece of cake if you have the right eye lash curler by your side. To define and enhance your lashes, using the eyelash curler is the easiest and most economical way. If you are wondering how to make a bold statement with your eyes, below mentioned are all the basic steps that you need to use the lash curler hassle-free. Apart from curling the lashes, it also prepares them for a hassle-free mascara application. Keep on reading to find more.
Steps to Use Eye Lash Curler Hassle-Free
Begin with Choosing the Right Eyelash Curler

To give a game-changing lift to your lashes, you need the right lash curler. Everyone’s lashes are different and a curler that works on someone may not be the right one for you. It is important to know what your lashes need and for that, you need to take shape of your eyes and lash length into consideration while choosing a curler. Ensure picking a curler that has long clamps so that you don’t miss out on any curl.
Clean the Curler before Using

We know what you are thinking! Cleaning the lash curler? Yes- it matters if you need accentuating and dramatically lifted lashes. This is one handy tool that we use almost every day but often forget to clean which later on becomes the reason behind eye infections. It is important to be extra careful with the tools that come close to the eyes and lashes as dirt and grime get caught up with consistent use. Hence the best way to clean the curler is using normal soap and water and then use.
Start Curling the Lashes

In front of the mirror, tilt your head slowly and then rest the lashes between the cushioned eyelash curler clamp. Once you get comfortable with the positioning, clamp down the curler for a few seconds so that the lashes get curled easily. Always remember longer you hold, the better will be the curls that you will receive on the lashes. Repeat the same process on the other side and flaunt your fluttery and feathery lashes
Follow Up with Applying Mascara
Most women have a habit of curling the lashes after applying mascara. However, you should not be doing this because the lashes can become hard and brittle. Hence it is always better to curl your lashes first to lift them up and once done, finish the look with a few swipes of volumizing mascara that gives a super defined and dramatic look to the lashes. Therefore, don’t miss out on the mascara for the perfectly curled lashes that long last for hours.
Tips to Remember while Curling the Lashes
- One important thing to remember while curling the lashes is to clean the eye area. Wipe off the oil and dirt around the eye corner and lid area using a cotton pad soaked in make-up cleanser and then starts with the curling process.
- Always hold on to the clamp for a few seconds before releasing so that you get the right lift on the lashes.
- If your lashes are straight up the moment you curl them then you should curl them twice or thrice. Don’t leave the lashes alone right after curling, wait for some time then release and again follow the same step.
- To create an illusion of heavy lashes and to give a dewy effect to the eye look, apply some Vaseline on the lids and then use the curler. This hack will make the lashes look voluminous and beautiful all together.
- While cleaning the tool, if mascara remains get stuck between the clamps then place the tool under running water and allow its force to clear the debris of the eye make-up.
If you have never used an eyelash curler before, invest in one beginner-friendly eye lash curling tool and follow these basic tips to get beautifully curled lashes no matter where you are!


