Let’s just be honest, there’s nothing as relaxing and therapeutic as getting your nails done! However, if you are in no mood to splurge on those frequent salon trips, we are here to help you master at-home manicure sessions. We all resonate with the feeling of not leaving the comfort zone of the home, hence knowing the art of doing your nails not only saves money but also adds benefits of being self-reliant.

Following the right steps while doing DIY Manicure is important to safeguard the nails from chipping, breaking, and peeling off! From preparing the nails to cleansing them, choosing the right nail paint and manicure kit for nails, there’s plenty of room for this beauty regime. Next time you stumble upon your favorite nail art on Instagram, all you have to do is follow these simple steps. And if you are a beginner, this user guide will get you the salon's perfect gorgeous nails from the comfort of your living room.
How to Do a Manicure At Home for the First Time?
Get Started with Preparations

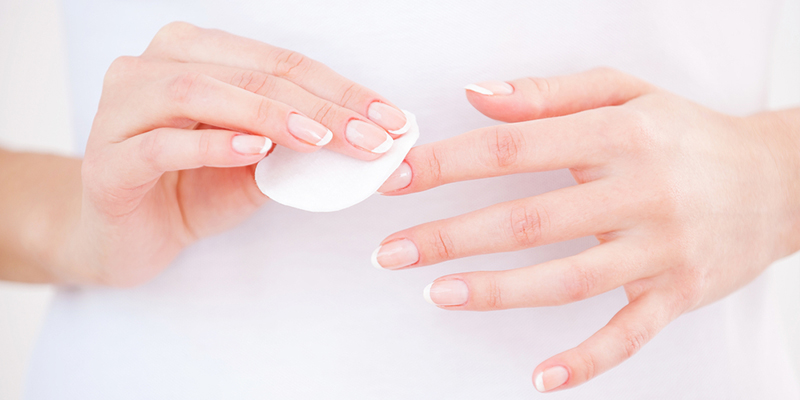
Start with wiping off the residue of nail paint using a cotton pad and a nail paint remover. Once you have cleaned the nails with enamel remover, dip your hands in lukewarm water filled with cleansing liquid. Let the oiliness of the nail paint remover liquid get wiped. If needed gently rub the fingers to clean all the dirt, oil, and grime. You can use a clean cloth to exfoliate or scrub the edges of nails for removing the dead skin cells.
Trim the Nails if Needed
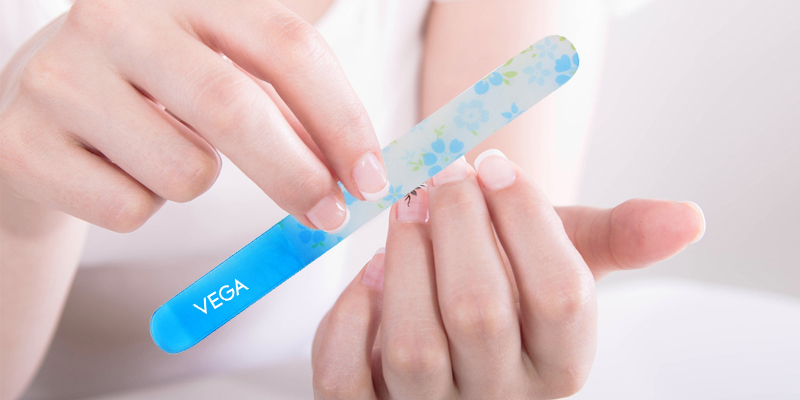
Once the nails are wet, you can avail this opportunity to cut them down with the help of a VEGA nail cutter as nails tend to become soft on being wet. Now dry them off and use a nail filer to file the freshly trimmed nails for a uniform shape. Nails are very delicate and any forceful action can lead to nail injury hence try to be slow with the filing process. Try to move the nail filer in the same direction without changing the original shape and size of the nails. To make your nails look shiny and polished, use can also use VEGA nail buffer.
Apply the Base and First Coat of Nail Paint
After giving the desired shape and size to the nails, now it’s time to get started with nail art. First of all, apply moisturizer to the trimmed nails and apply a base coat before choosing the nail color. Applying a base coat helps with protecting the nail color, and acts as a protective sheath against chipping. Now apply the first coat of the desired nail paint and allow it to dry. The key to shiny nail paint is to load the brush with enough paint to coat the nails fully.
Seal the Look with Second Coat and Top Coat
Once the first coat gets dried up then apply the second coat if needed. For seamless coverage, keep the second coat thin and repeat only if needed. After it gets dried, apply a top coat to leave a glossy shine and protect your freshly manicured nails from chipping and increasing the longevity of the nail paint. Sealing the color with the top coat helps with adding shine and a perfect finish to the nails for salon-like results.
And that’s all! Not to forget, clean up the edges and flaunt your nails like a real diva at home, all by using VEGA beauty Care accessories.


