Zero-gapping trimmer blades are one of the many popular techniques practiced by barbers and grooming experts across the globe. It is an important role that contributes to elevating the precision and efficiency of trimmer blades. Without zero gapping, the hairstyling tools will start to deteriorate in performance, further resulting in poor results.
This blog is focused on understanding what is zero gapping trimmer, what is the importance of this process for barbers and hairstyling professionals along with how to zero gap your trimmer blades in a salon.
What is Zero Gap Trimmer?
A trimmer comes with two blades that function parallel to each other when the tool is switched on. Zero gapping is the process of adjusting these trimmer blades after multiple uses in order to align the cutting blade and the stationary blade as closely as possible. This process reduces the gap between the blades which contributes to closer cuts and cleaner lines of all hair types. Zero gapped trimmer can effectively and precisely create ultra-sharp lines, fades and crisp outlines with minimum effort when done in the right manner.
Zero Gapping Tools Required
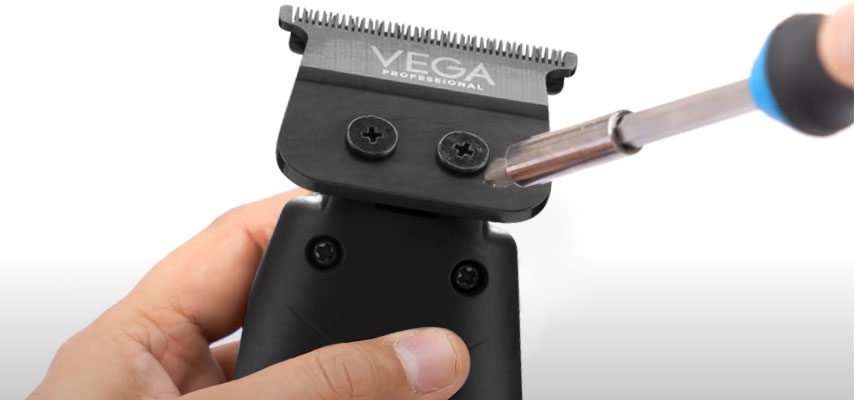
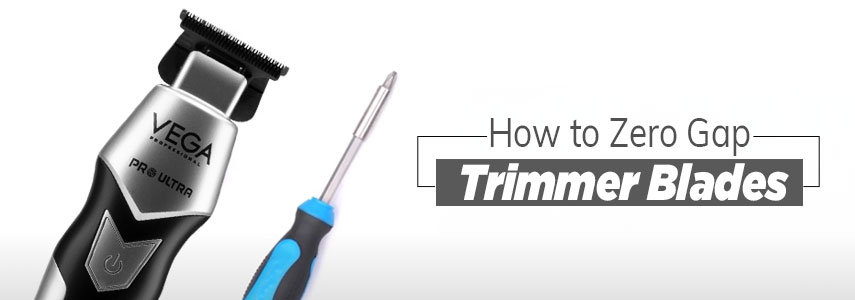
- A trimmer with adjustable blades
- A screwdriver
How to Zero Gap Trimmer Blades – Step-by-step Guide
Here is a step-by-step guide on how you can easily zero gap Vega Professional trimmer using just a screwdriver and achieve many trending beard styles for short and long beard lengths with great ease:
- Power Off and Clean the Trimmer
Ensure that the trimmer is switched off and unplugged before zero gapping. Take the blade cleaning brush provided with the pack and clean the blades to remove hair or other debris. This will allow the blade adjustment process to be smoother.
- Loosen the Screws
Using a screwdriver, slightly loosen the screws of the trimmer head that are usually located on the backside. Ensure that you hold the blades while doing so and be careful to not remove the screws completely. Loosen only enough to allow movement of the blades.
- Align the Trimmer Blades
Once loosened, adjust the position of the blades by pushing the cutting blade forward until it meets with the stationary blade. There should be no gap between the two blades but they should also not overlap completely as doing so may increase the chances of snagging or cutting the skin.
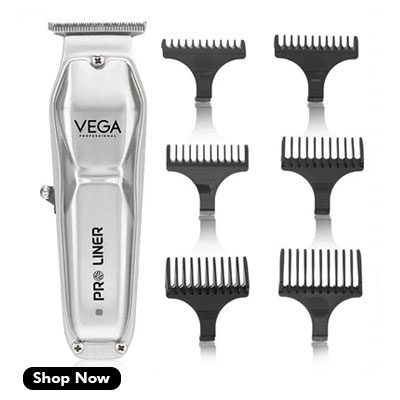
Among our wide range of trimmers, the Pro Liner Hair Trimmer in particular comes with zero overlapping blades that are ideal for ultra-close cutting. Its DLC Coated Japanese Stainless-Steel Blades ensure safety while its Cord/Cordless power offers usage versatility.
- Ensure Even Alignment
It is crucial to make sure that the trimmer blades are parallel perfectly because an uneven alignment can easily cause irritation or cuts to the skin. You can also use a magnifying glass to be able to see the blades’ level and align them correctly across the length.
- Tighten the Screws
Tighten up the screws as you hold the blades in place to prevent the blades from shifting. Be careful while doing so and recheck the alignment after tightening.
- Switch On and Test the Trimmer
Before using the zero gap trimmer for beard on your clients, test it on your arm or neck. Trimming hair should be safe and comfortable and in case of any pulling, snagging, or irritation, adjust the blades again.
Zero Gap Trimmer Benefits
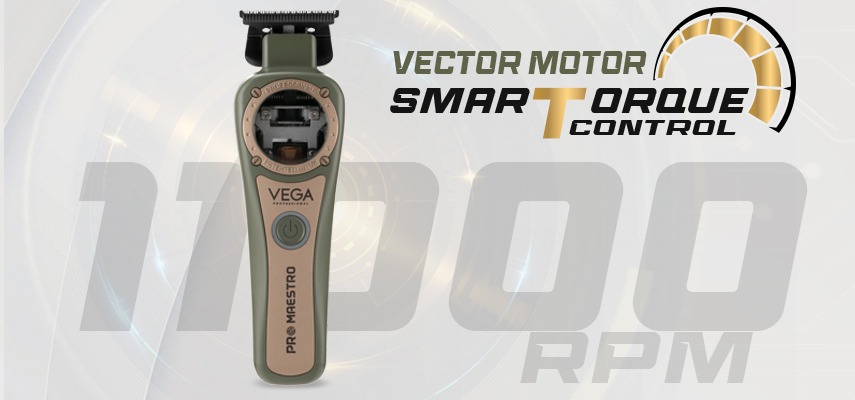
You can experience many benefits after zero-gapping your trimmers. While Vega Professional range of trimmers comes with advanced technology that enhances user experience, such as the Pro Maestro Professional Hair Trimmer with the revolutionary vector motor, ultra-fast 11000 rpm constant speed technology and DLC-coated Japanese stainless-steel blades, zero gapping from time to time elevates the working further. Here are some major benefits to enjoy:
- Sharper Lines and Edges
You can create more sharper and defined lines while lining up hairlines or working on sharp beard edges and adding details around the ears.
- Enhanced Precision
You can blend a fade or create intricate designs with greater precision and always achieve consistent and high-quality results.
- Minimum Need for Multiple Passes
You can cut more efficiently by reducing the need for multiple passes over the same area to experience faster cuts.
Key Takeaway
Zero-gapping your trimmer blades is a simple yet effective way of enhancing the precision of your professional trimmers. Along with the use of the right tools, careful adjustments and some practice, you can easily learn how to zero gap trimmers and deliver sharp and clean cuts every time. Ensure to also maintain the blades regularly by keeping them clean, oiled, and free from rust.
FAQs
Why should I zero gap my trimmer?
Zero-gapping your professional trimmers will improve the precision of your cuts and offer sharper lines, closer shaves and better detailing.
Is zero gapping safe?
Yes, zero gapping is absolutely safe when done correctly. You must ensure that the blades are not misaligned or set too close as that can cause skin irritation or cuts.
How often should I zero gap my trimmer?
You may zero gap your trimmer once a week or depending upon the usage of your professional trimmer.
What should I do if my zero-gapped trimmer is pulling hair or causing irritation?
If you experience pulling or irritation, the blades might be misaligned or too close. Loosen the screws, realign the blades carefully, and test the trimmer again. Ensure the blades are parallel and not overlapping.

